
Kysyttävää? Soita meille 05 - 375 3220
Free delivery for orders over 1000 € / 30 days Return policy


Subtotal: 37399.10 €
Kysyttävää? Soita meille 05 - 375 3220
Free delivery for orders over 1000 € / 30 days Return policy
In this guide, we briefly go through what tools you need to take successful macro photos
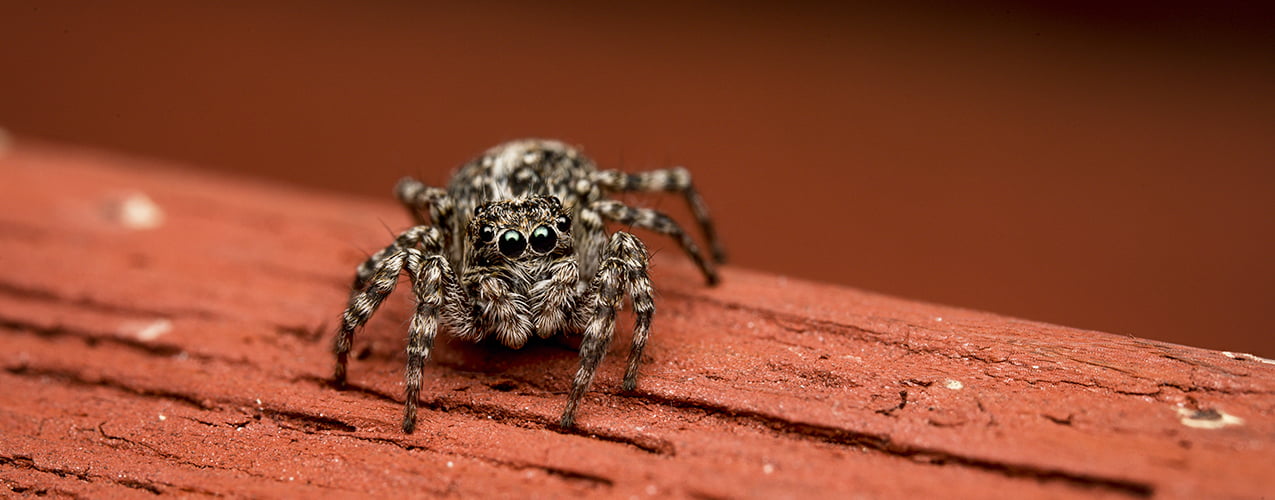
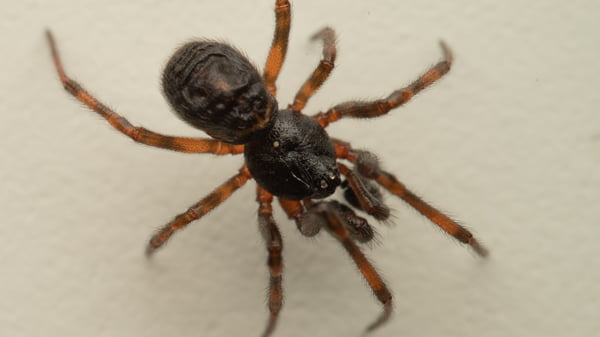
Macro imaging is one of the fastest growing imaging modalities and the supply of equipment is constantly growing. Macro photography is defined as an image that is the same size in nature as the camera cell (1:1) or larger up to a magnification of about 10:1. At magnifications above this, we can already speak of a microscopic image. Close-up photography also goes hand in hand with macro photography, with aspect ratios from 1:1 to 1:3. The term "macro" can therefore easily include all insects, plants, jewellery, and other subjects with interesting details.
Table of contents:
Sensor size and pixel count are the most impressive features when choosing a camera body, but any camera body will take you into the world of macro photography.
The 1:1 aspect ratio goes by the size of the sensor, 18mm for MFT, 24mm for APS-C and 35mm for Fullframe. In practice this means that the 1:2 aspect ratio for an MFT sensor is equivalent to the 1:1 aspect ratio for a Fullframe. The sensor size also affects the depth of field, so a 1:2 shot with an MFT sensor will have a wider depth of field than a 1:1 shot with a full-frame camera.
The smaller cell size helps with many practical issues such as wider depth of field and theoretically produces higher magnifications. Another even more significant difference for many may be the size and weight of the camera and lens. This favours cameras with a smaller sensor size and is worth bearing in mind, especially when going on longer shooting trips. A larger sensor, on the other hand, takes away the comparison in image quality in terms of dynamics and light requirements. But it's fair to say that top-quality macro images can be taken, whether MFT or FullFrame.
The number of pixels and pixel density of the sensor is an advantage when cropping images. In macro images, subjects are small and camera movements are relatively large, so cropping often gives the image its final composition in post-processing.
Features that make macro photography easier when choosing a body include synchronisation settings for manual focus and flash. Many camera models have a so-called internal focus stacking/bracketing function, which, with the appropriate proprietary lenses, allows the camera to be programmed to automatically take multiple shots, with the camera itself changing the focusing distance of the lens between shots. The camera builds a stacked jpeg image file internally with a wide depth of field. This is well suited for photographing jewellery and other small items.
Typically the focal lengths of macro lenses go by a factor of the cell size MFT 50/60mm, APS-C 60/65mm and FullFrame 90/100/105mm. At these focal lengths you get the same perspective on the subject with each cell. The change in perspective at macro distances is not very large. The biggest change comes from the so-called working distance between the subject and the lens. The longer the focal length, the greater the distance between the subject and the front element of the lens.
Generally speaking, the best and easiest way to access macro photography is to buy a macro lens. Macro lenses are available from every camera manufacturer up to 1:1 magnification (e.g. Sony 90mm, Nikon 105mm, Canon 100mm, Fujifilm 60mm, Olympus 60mm). The macro lenses from the camera manufacturers are also available with autofocus and are suitable for use with pots. The Canon range also includes the so-called bug-glass MP-E 65mm lens, which can be used to shoot at magnifications of 1 to 5 times.


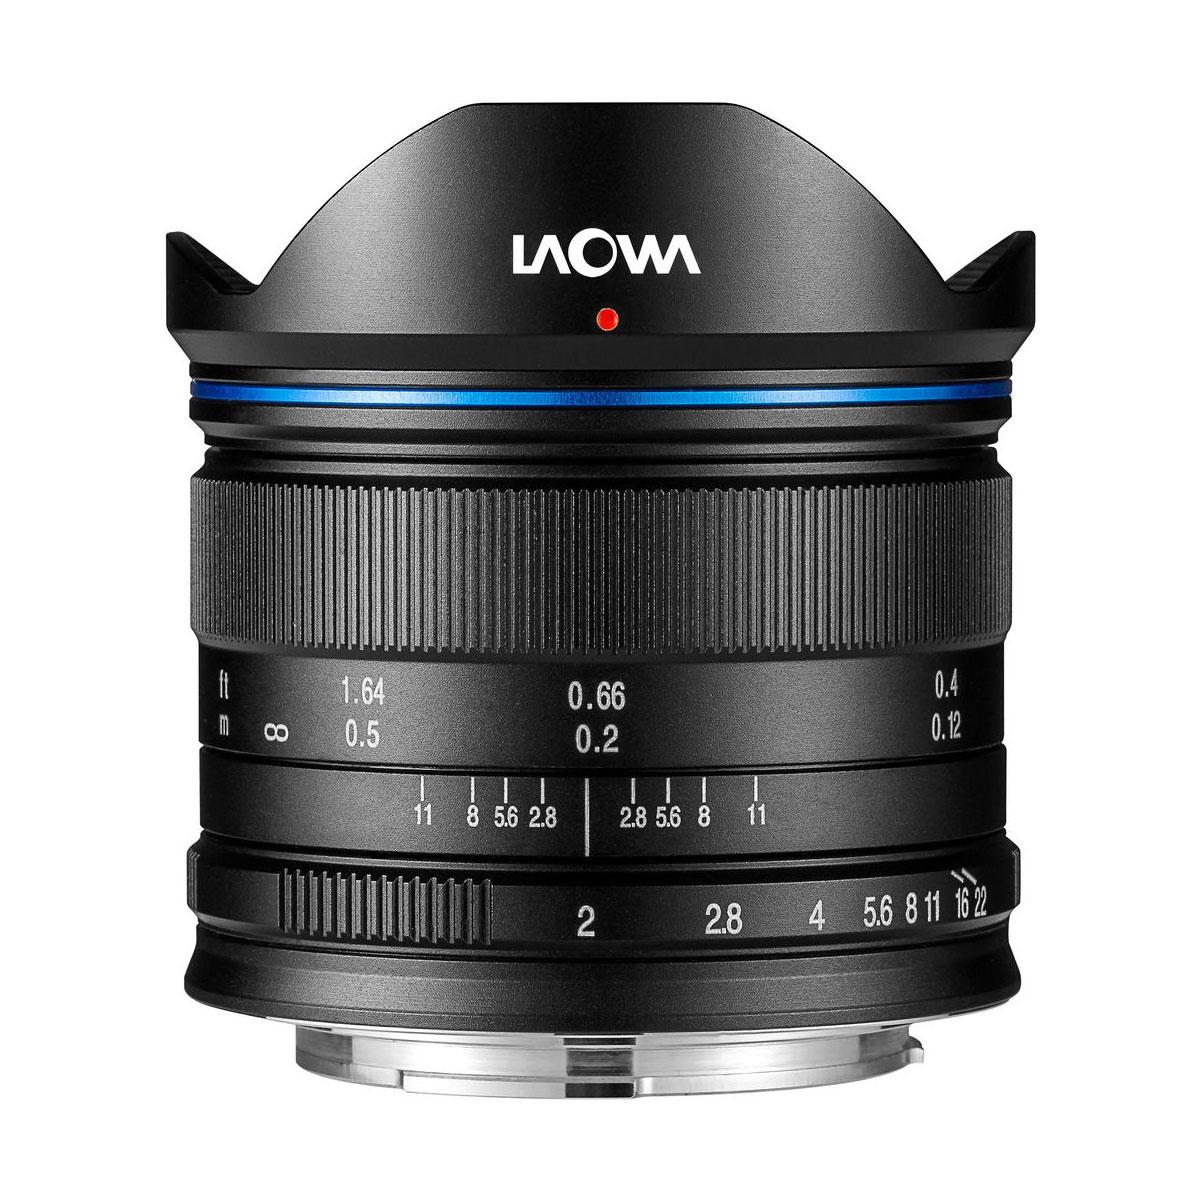
Third-party manufacturers such as Samyang, Sigma and Laowa offer very high quality macro lenses. Laowa stands out from the crowd with their 100mm/85mm/65mm/60mm/60mm/50mm fully manual lenses that go from infinity to 2:1 magnification, which makes a huge difference when shooting insects or very small subjects, for example. Laowa also produces a 25mm 2.5-5x magnification ultra-macro lens. When moving from close-up to macro photography, there is no need for autofocus. The depth of field range even at small apertures (f/11-f/22) is so narrow that the appropriate focus point has to be selected by the photographer. In macro photography, there is little need for an in-lens stabilizer either, as the light requirement is usually too high to illuminate the image with a flash or a tripod using a slower shutter speed.


In addition to the typical macro lens focal lengths, wide-angle macro lenses are also available. These lenses, such as the Laowan 15mm F4 1:1 macro lens, are more like close-up lenses as the 1:1 magnification is achieved by having the subject attached to the front element of the lens. In this case, the subject should be illuminated by reflections, an external flash or a diffuser designed specifically for this purpose. The wide angle also gives a much greater depth of field so the background landscape also gets more light and detail than typical focal lengths. The perspective produced by a wide angle lens in close-up photography is very interesting and I recommend you check it out.
Laowa also manufactures 25mm 2.5-5x magnification ultra-macro lenses. Laowa's 25mm 2.5-5x is not so much a wide-angle lens as an ultra macro lens for higher magnifications, which by default is intended more for stacked macro photography than for more normal macro photography. Please note that with this lens you can only focus between 2.5-5x magnification, so it is not suitable for other types of photography.
The Laowan Probe 24mm 2:1 macro lens is also a very interesting specimen in the world of macro lenses. With a wide 24mm perspective and infinite to 2:1 magnification, the imaging experience is very different from other macro photography. Although the lens is designed more for video photography with the help of a slider. The lens is equipped with internal LEDs. The LEDs allow the illumination of a subject very close to the oblique lens, also from the front.


Macro imaging can also be accessed in cheaper ways than investing in a new lens. An inexpensive way in SLR cameras is to insert a ring between the camera body and the lens to bring the closest focusing distance of the lens closer. With a locket ring, you can make any lens a macro or at least a close-up lens. There is no glass between the rings to affect the quality of the image produced by the lens. With loupes, the depth of field narrows as always in macro photography the closer you focus.
Another simple and easy way is to use close-up filters or close-up lenses. These are either threaded into the front of the lens or with a quick release like the very popular Raynox DCR-250 close up filter. These are widely used in compact cameras and with 1:1 macro lenses to bring a slightly higher magnification to images. With these options, the amount of glass between the subject and the camera sensor is increased so you may see more changes in image quality than with loupes.
There are other ways to achieve macro magnification, such as a baffle that works like a spell, or a separate bayonet to lens barrel adapter that allows the lens to be used upside down in the camera. Microscope lenses are also available that can be attached to the system camera. These are already in the realm of microscopic imaging, so no more about them.

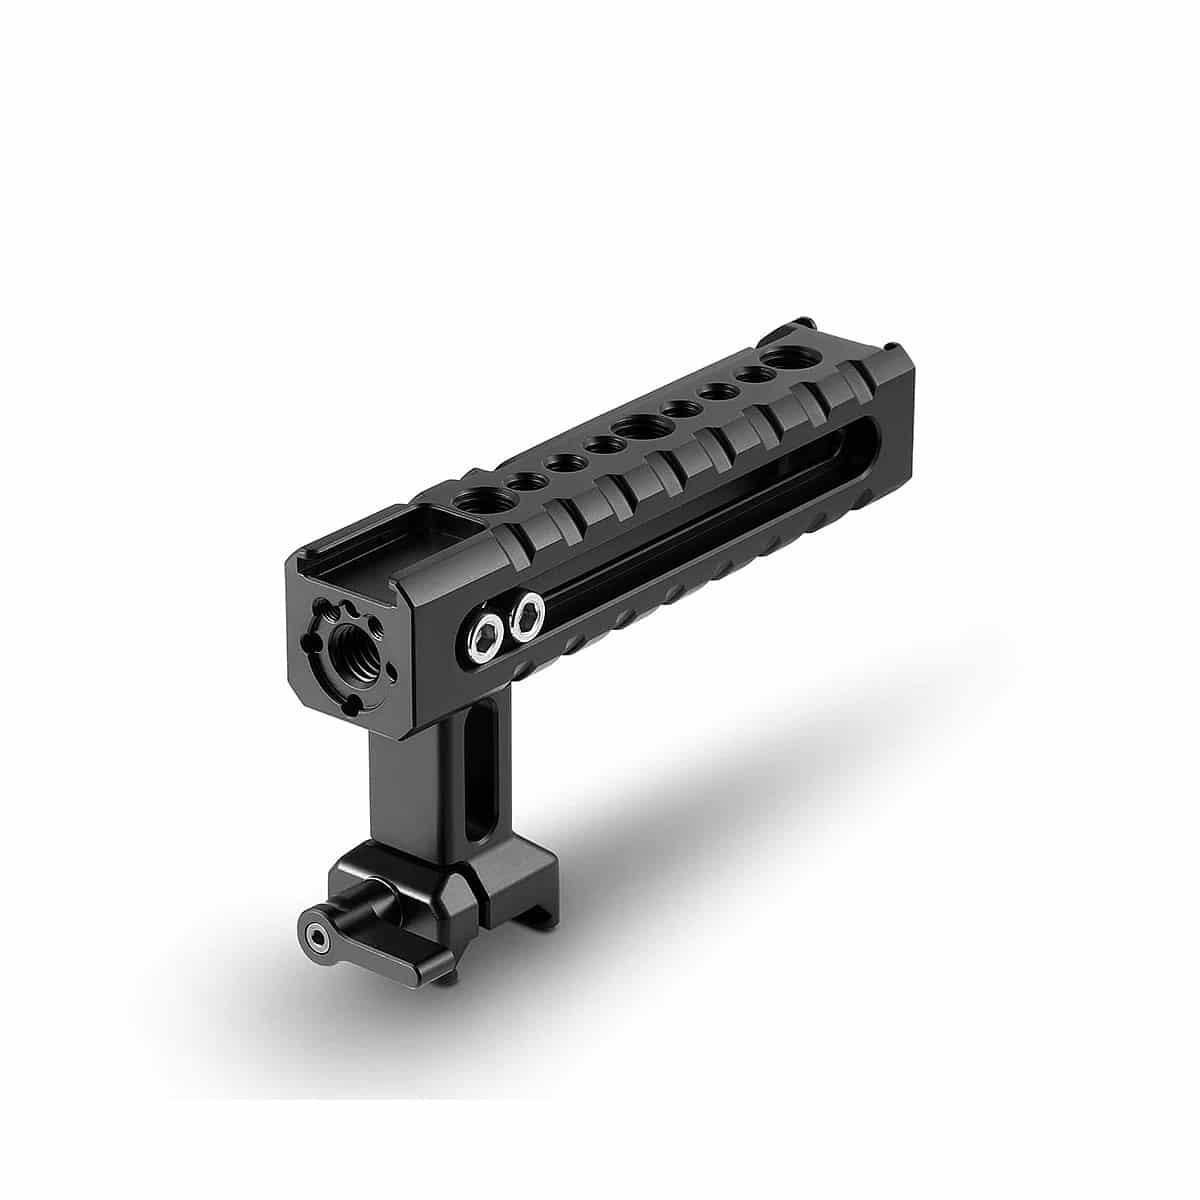
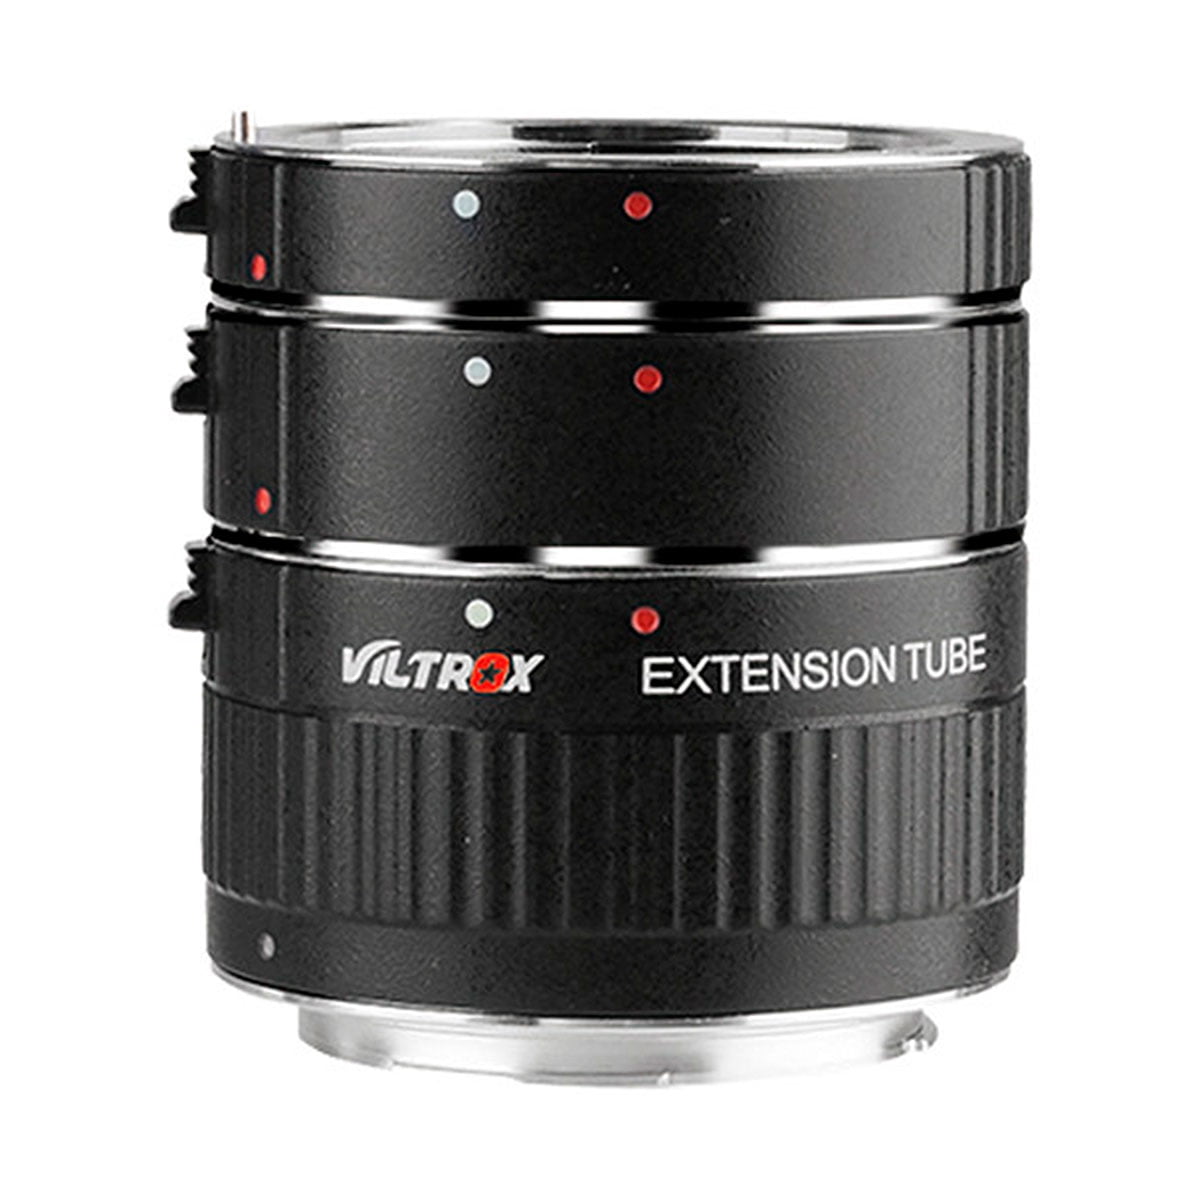
 Auto Extension Tube - Nikon Z")

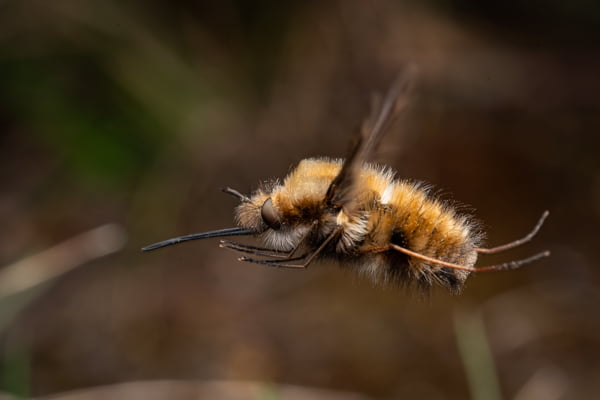
The need for light in macro imaging is very high. When diving from close-up to 1:1 and higher magnifications, the light requirement increases as the depth of field decreases. For example, when shooting 2:1 at f/16 you need either a flash, a high ISO or a long exposure time for a properly exposed image. When shooting in nature and freehand, you rarely have such serene conditions that you can take accurate images without the need for another tripod or additional light. Flash is therefore often the macro photographer's most important tool. In addition to the more traditional handheld flashes, flashes are available that are specifically designed for macro photography.
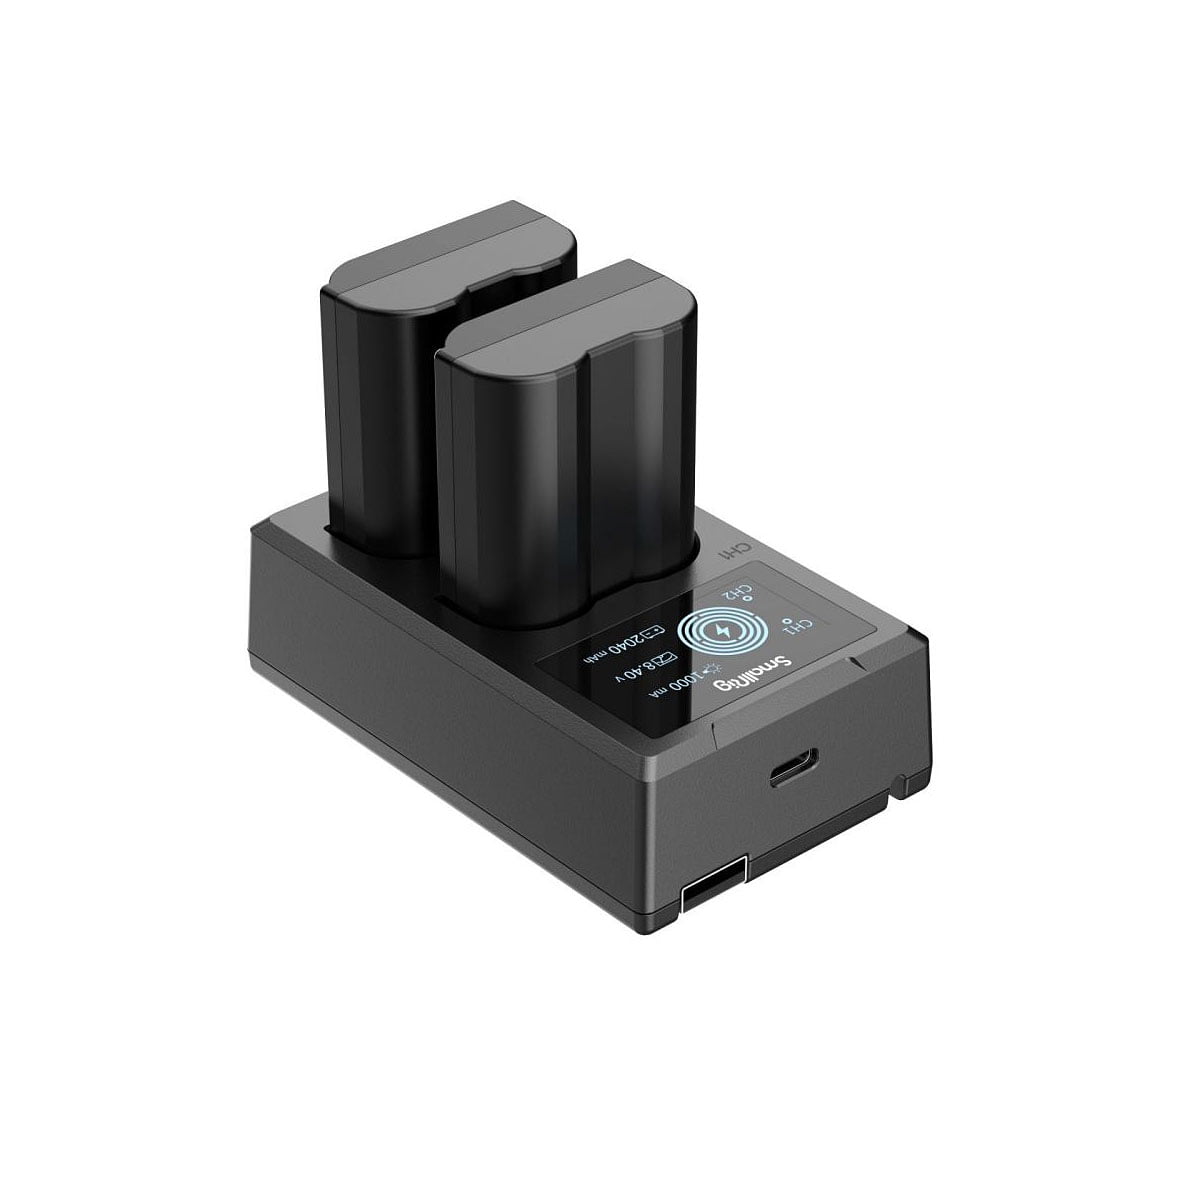
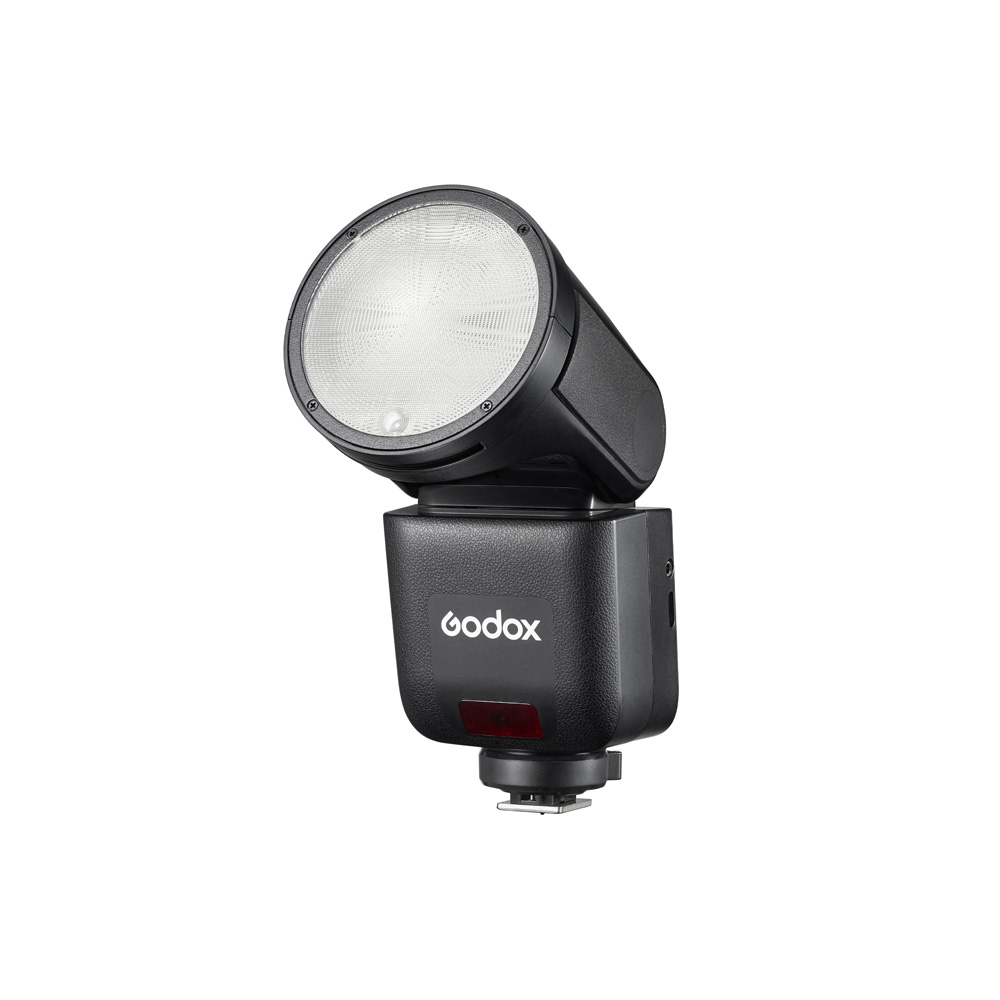
When choosing a flash, it's a good idea to consider the amount of light you want to produce, the flash's charging speed and its size. The Godox v350 is a relatively powerful flash packed into a small compact size, which is very well suited to smaller, lighter camera body/lens combinations. The Godox V1 is a large and rather heavy flash, but in terms of power and charging time, this flash is capable of shooting up to 10 frames per second in burst mode at lower powers (1/32 or less). In addition, the V1 model is equipped with a focusing light to help you find the focus of the image. In terms of power, the V1 is also very well suited for all other flash photography. The Godox V350 V860III and V1 have batteries that can shoot up to 500 images at full power.
For more creative lighting, handheld flashlights can be used as an external camera with the help of a transmitter. The Godox Xpro and X2t models are ideal for this purpose. With a flash it is recommended to use a diffuser to soften the light produced by the flash. Bare flash light easily burns out shiny areas and creates contrasting shadows on the image, which often does not flatter the subject. Diffusers are available in ready-made commercial models, but it is common for deep into the hobby macro enthusiasts to build their own housings over the flash and lens according to their own preferences. The main advantage of traditional flash is the amount, speed and adaptability of the light output.


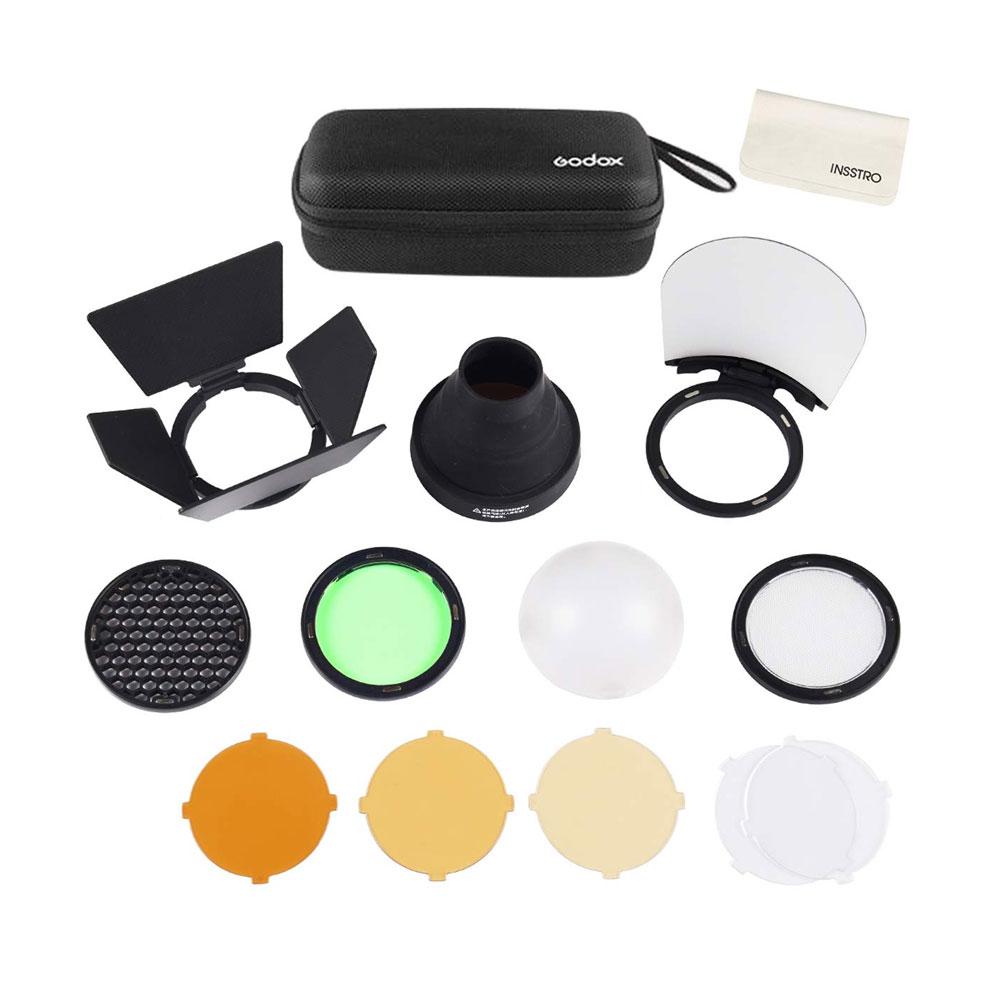
For macro photography, there are also various flashes available for that purpose. A ring flash is a flash that is attached around the lens, often with an adapter ring, to the threads of the filter. The advantage of a ring flash is convenience, small size without the need for a high flash on the camera body. The ring flash produces a steady light and is an easy choice as a first macro flash. However, the light source is right next to the subject, so there is little chance of adjusting the light produced by the ring flash to your own preferences. The light source of the ring flash is also often reflected by the subject, making it clearly visible in images, especially in bright subjects.
The Godox mf12 is a ring flash-like, customizable flash system that can be connected to one to eight flash units. You could even say that the MF12 is a ring flash-like modifiable light source that is very useful for creative macro photography and creative lighting.
The Laowa/Kuangren KX800, on the other hand, is a macro flash with two flash heads and a focusing light, allowing you to create easily customisable and creative lighting for small macro subjects. Other light sources, such as small agile LED panels, can also be used for macro photography. However, small LED panels do not have the power of flash devices, so other measures are required to stop motion.


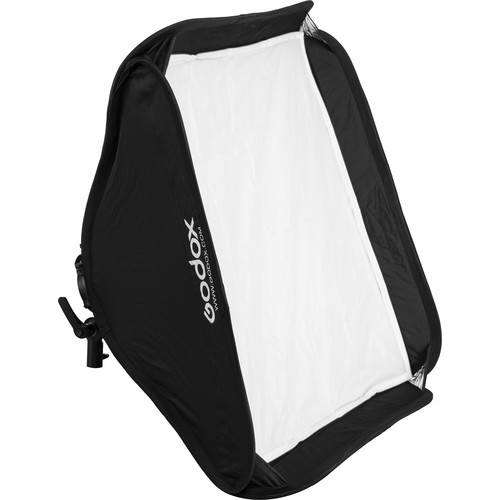
Diffuser or light converter. Perhaps the most important accessory in a macro photographer's own handprint is the light converter. The vast majority of photographers, especially insect and spider photographers, use traditional flash light and modify/soften the light according to their own preferences. Diffusers are available in many shapes and sizes. Traditionally universal diffusers include collapsible diffusers that can be placed around the lens and small square and round softboxes. But as mentioned, diffusers often go into the DIY world.


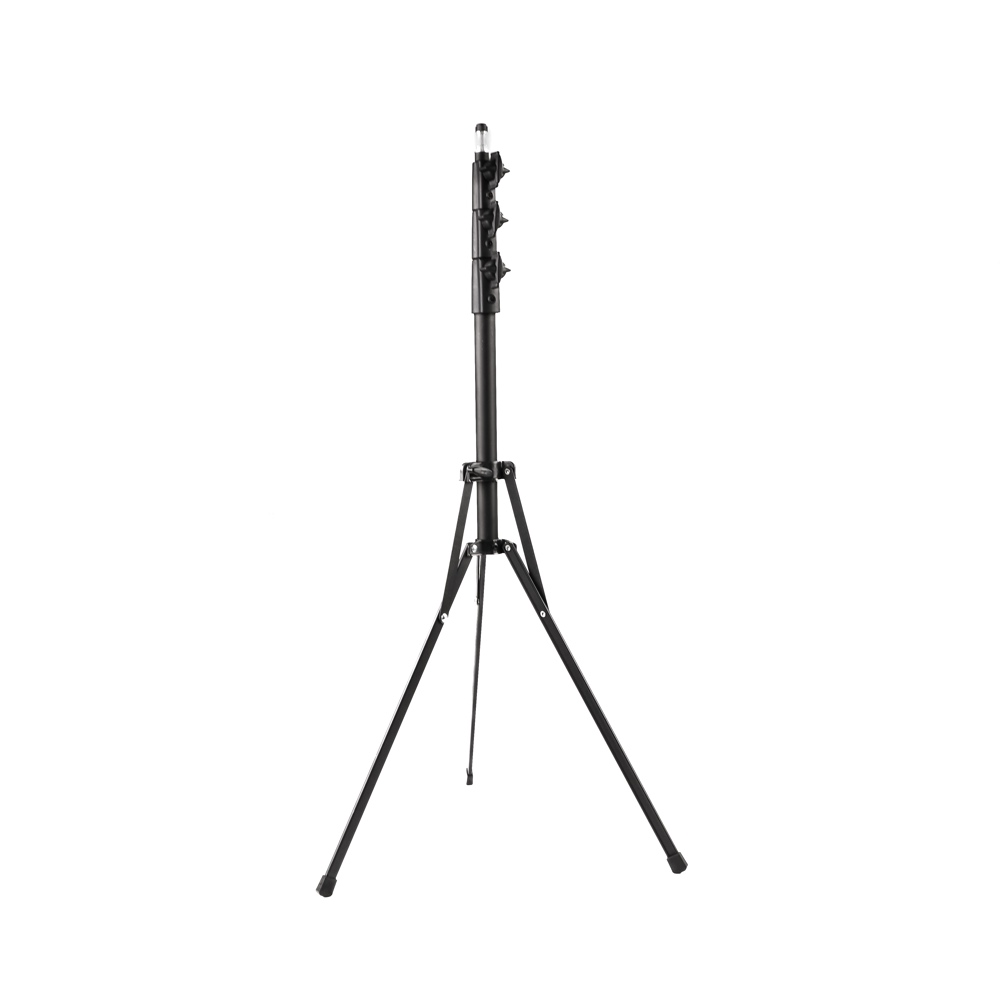
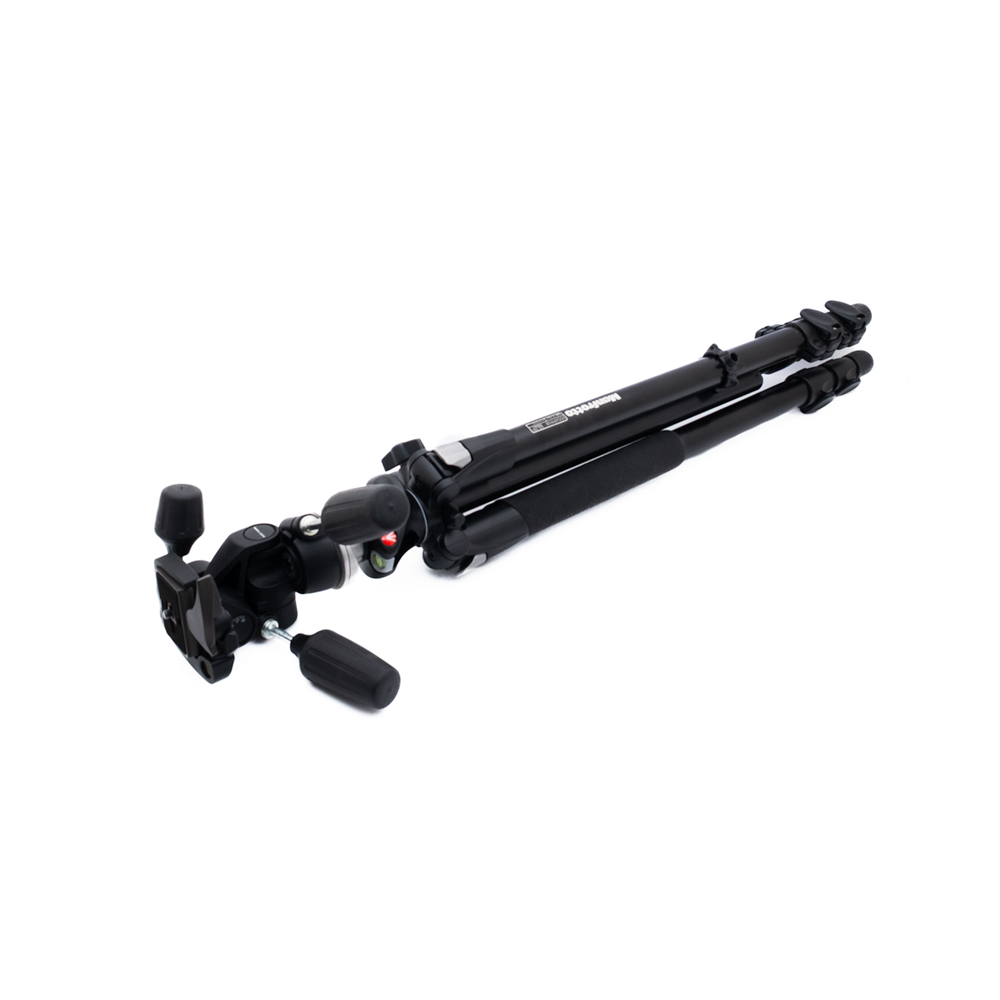
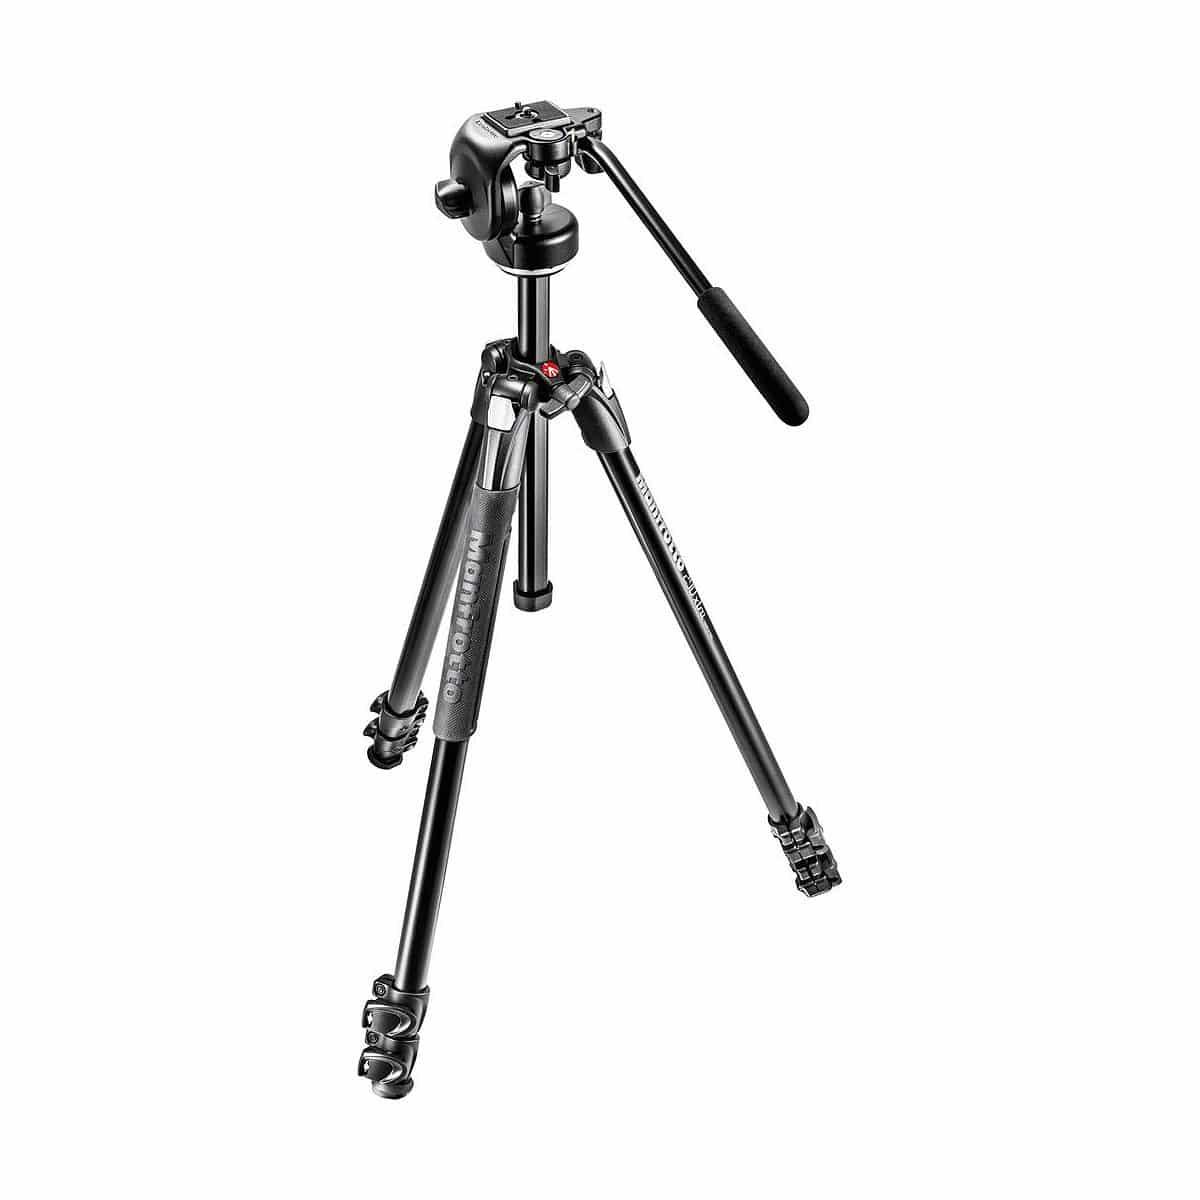
Macro images can be taken in many ways. Traditional nature walks with a camera and no other equipment are challenging when the aim is to get close-ups of small subjects. Capturing natural light requires very steady hands, support or, for example, a tripod that allows longer exposure times. The most important feature of a tripod in this shooting style would be a folding centre tube to get close to the subject. A gorilla pod-style tripod can also be a good option when working in the grass. An external shutter release is also important in this style of shooting, to eliminate camera shake when the shutter is pressed.
Another option is to shoot with a timer of a few seconds, by which time the vibration has had time to die down. When photographing insects, spiders and other moving objects, flash is almost a must. With flash you can stop movement in an instant, and I don't just mean a short shutter speed. For example, when shooting a flying subject out of direct sunlight at a magnification of 1:1 and dimming the aperture to a small aperture to get a large depth of field, keep the ISO low. In this case, the majority of the light comes from the flash flicker, which, depending on the power of the flash, has a duration of something between 1/2000 and 1/10000. Based on this, one can imagine that the shutter speed is the time it takes for the flash to flash.
(For example this 1:1 image of a wild fly Sony A7RIII 1/250, godox V350 1/4 power, ISO100, F/16)


Focus stacking is the process of combining the depth of field areas of images. There are several techniques to do this. Many camera manufacturers have built into their bodies an automatic Focus stacking/Focus bracketing feature whereby the camera sets the desired number of images to be bracketed and the focus target. In-camera stacking does the stacking by adjusting the focus distance so that the subject and camera are in position and the lens does the work by adjusting the focus. This can only be done with the camera manufacturer's own lenses. This same technique can also be used manually. With some lenses, the focus breathing (meaning the change in focal length of the lens when focusing) is often so large that not all stacking programs are able to combine focus areas using this method.
The most commonly used manual stacking technique is to hold the subject still and move the camera using a macro rail. In this case, the camera settings are kept exactly the same. Very little camera movement is done at a time and often dozens of images are taken. If the images are illuminated by direct lights, such as Led panels, it makes sense to take the images with either a wire shutter or a timer so that the images are not affected by camera shake. Even one shaky image or one image taken with too long a macro rail movement will ruin an otherwise successful stacked image. Stacking an image can also be done by moving the subject instead of the camera, but this often requires a self-built macro rail.
These aforementioned studio macro images also include macro images taken with a bare and/or inverted lens. In addition to other macro lenses, ultra macro lenses such as the Laowa 25mm 2.5-5X f/2.8 are best suited for stacking. To get an accurate image of the subject at these high magnifications, you practically have to shoot at a very large aperture (Laowa 25mm / 5x magnification / f/2.8 or f/4) otherwise the images will be very soft. Another thing to note is that the focus range in this case is a bit fine and in practice that means that to get a close-up of a fly you need to take dozens of shots. For studio stacking of macro images, computer-controlled electronic macro stages are also often used, which come in very handy, especially when using microscope objectives (5x-100x). In this case, objects requiring a wider depth of field already require hundreds of images.
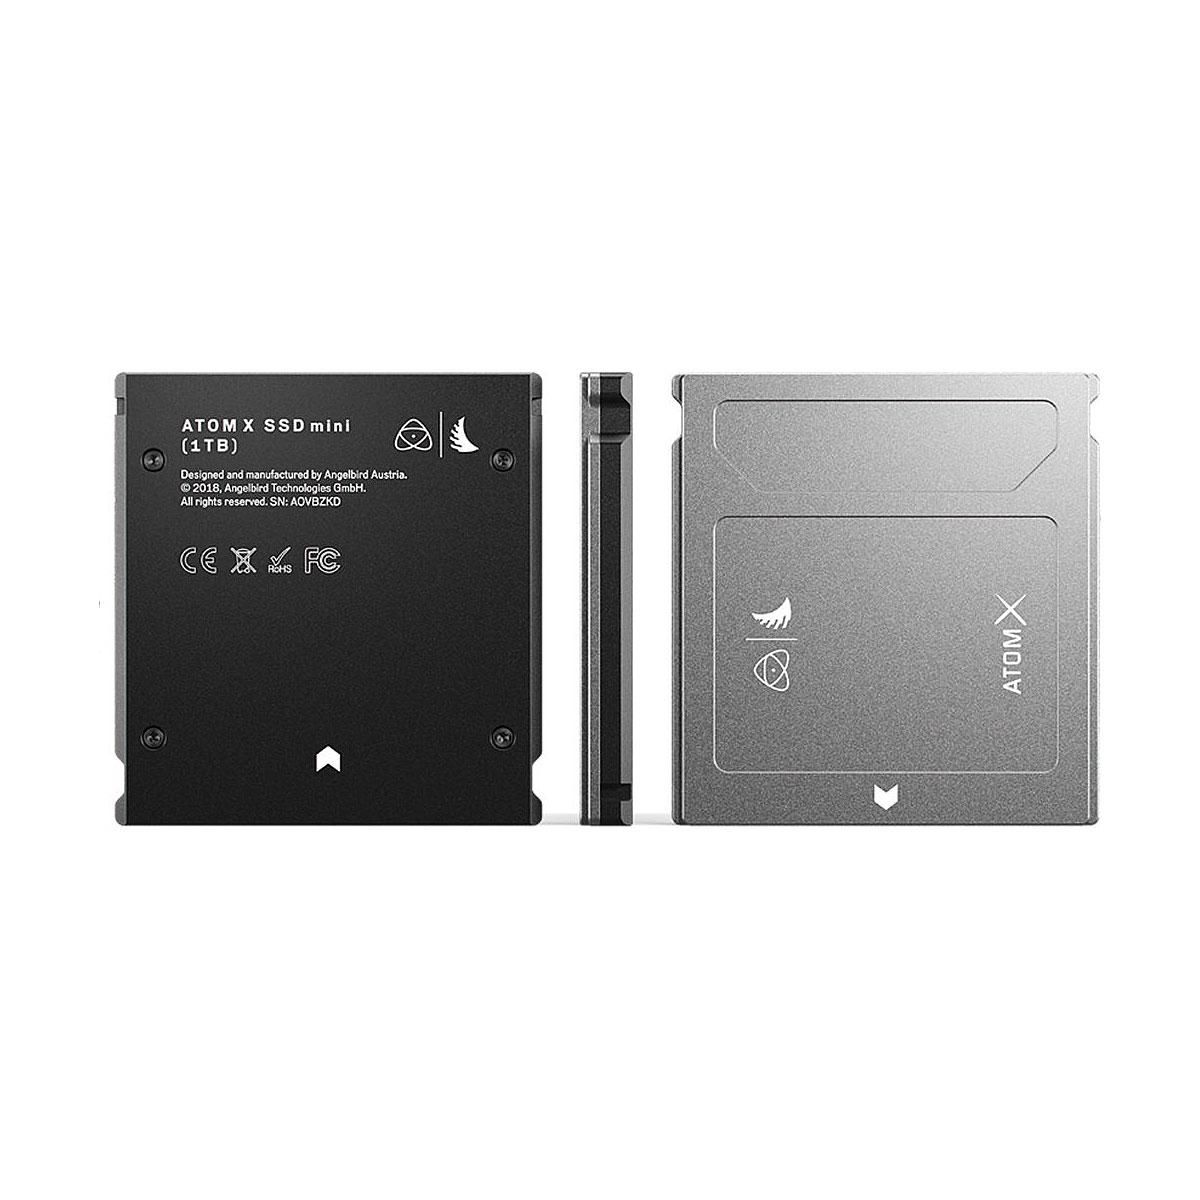
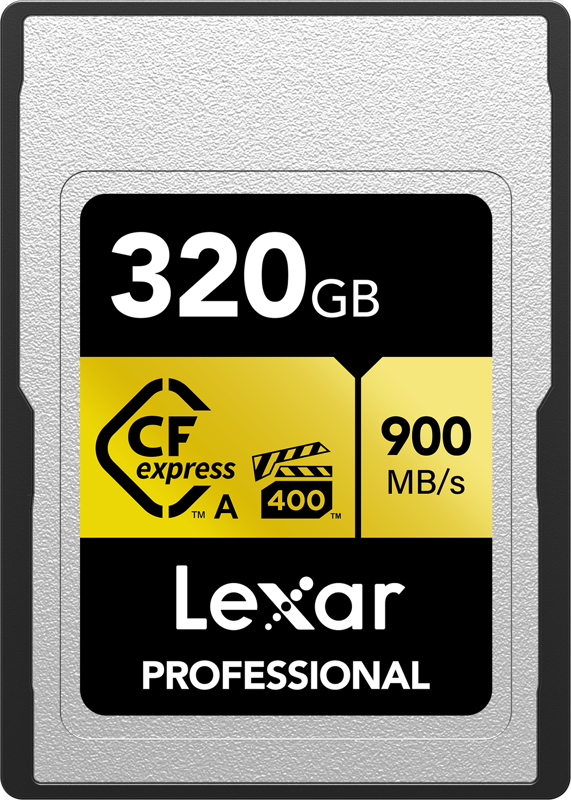
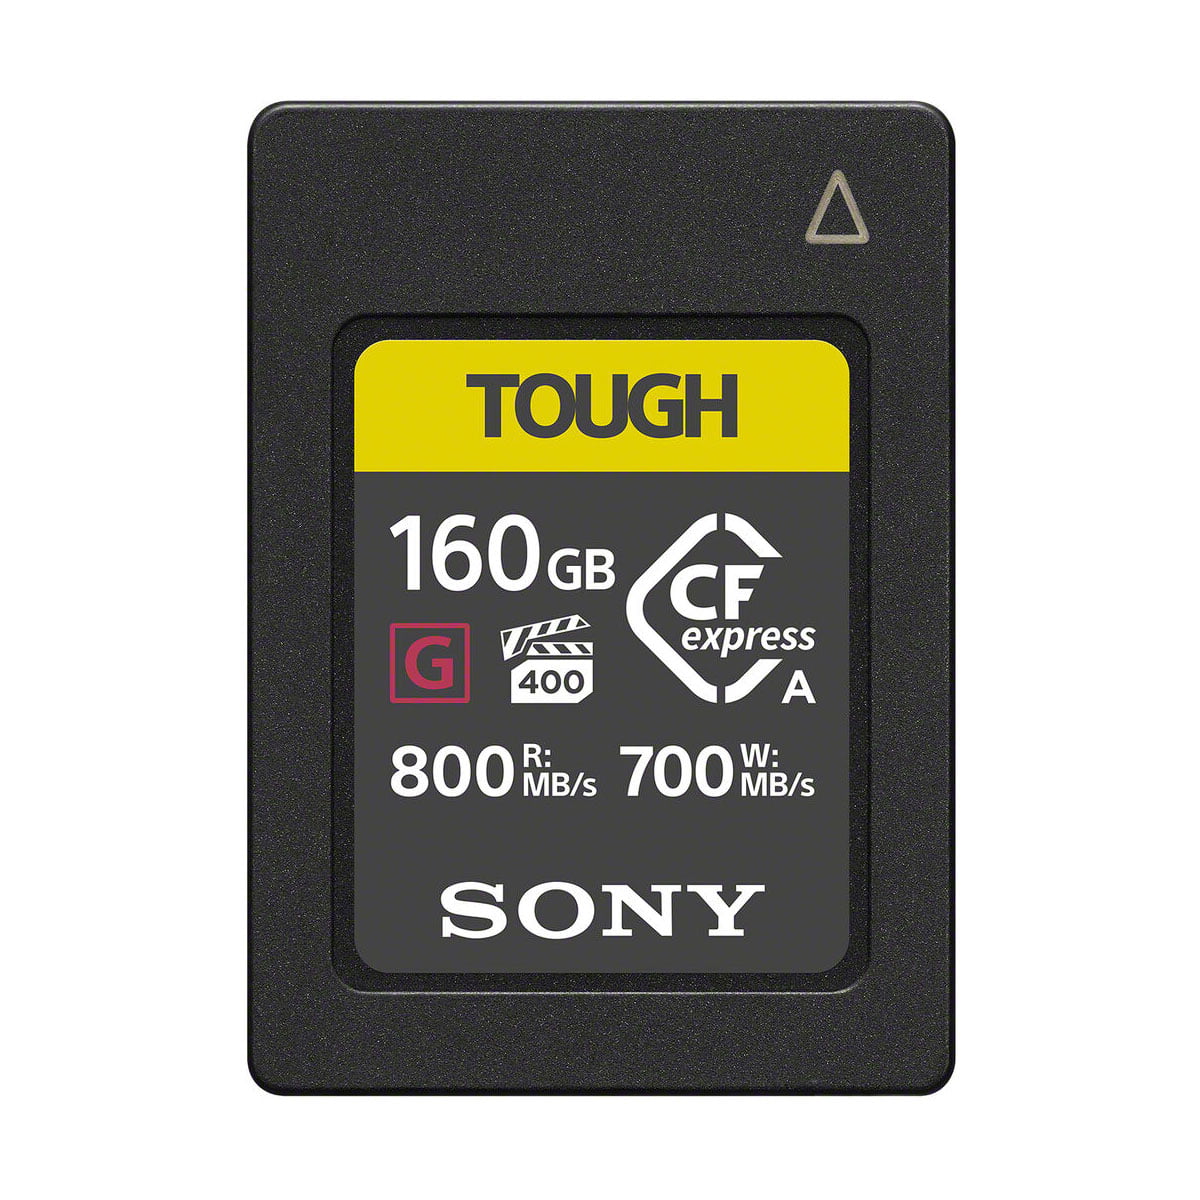
Stacked macro images can also be taken in nature and of living subjects. In this case, the camera equipment is already more important and the importance of training is even more pronounced. In general, just two or five combined depth of field bands will give the necessary amount, especially at a magnification ratio of 1:1, while a small aperture of f/11 to f/22 will give a relatively wide depth of field range. Images of perfectly still subjects can be taken separately by pressing the shutter or with a burst shutter, if only the flash has time to recharge between images. For example, at ~10 frames per second with continuous shooting, the Godox V1 flash can charge at 1/32 power for up to 50 frames. With this technique, the flash stops moving and the photographer slowly moves the camera towards the subject. These images are easily affected by small changes in perspective and the image can almost always be judged successful only after post-processing. This often leads to the fact that post-processing requires much more manual work. With this method, it is often the case that a stack of 50 images will contain the 2 to 20 stackable images from which the final image is built. When shooting freehand, it can be calculated that a lot of data is transferred to the memory card quickly. With this shooting style, you should be prepared for larger and faster memory cards than when shooting normally.
In post-processing, the stacking of images is done manually in Photoshop, for example, or using the merge function. The best results, at least for the time being, can be achieved with software developed for this purpose, such as Helicon focus or Zerene stacker.
The absolute best thing about macro photography is that you can find interesting and beautiful things to photograph right in your own backyard. Grab your camera and head out to explore the small wonders of the world, you're guaranteed to be surprised.


Moi,
an interesting and richly relevant article. The depth of field of an image can be affected in several ways with tilt/shift lenses. Do you think they have a use in close-up/macro photography?
Hi, Certainly more so in close-up than at 1:1 or higher magnifications. The Laowan 15mm 1:1 has shift is a lens that allows you to modify the perspective, in my own use I haven't noticed any difference in depth of field when using shift, in some cases the shift function makes it easier to expose and find the composition. Tilt-Shift lenses are not very familiar to me, however.
Best regards
Jari // Foto Monza